Every girl can agree that keeping your nails looking picture perfect is much easier said than done. Unfortunately, no one is born with salon-level manicure skills, and taking trips to the salon every few weeks can have your bank account draining right before your eyes.
That’s why being able to paint your own nails (and paint them well) is a skill that every woman should have ready in her arsenal.
If you find yourself in an infuriating cycle of smudging, chipping, and general polish-induced frustration, then you’ve come to the right place. We’ve compiled a list of tips, tricks, and product recommendations to help girls of any skill set master the art of DIY nails.
These tips will help you avoid even the most common manicure mistakes while keeping your nails looking better and lasting longer. So before you start shopping for your next shade, check out our list of tips and tricks to help you achieve a salon-quality mani without leaving the couch!
Always Wash Your Hands First
One of the most common manicure mistakes is forgetting to wash your hands before applying polish. Your fingertips transfer a ton of natural oils onto your nails, and this can prevent the polish from adhering properly to the nail.
Even if your nails are already bare, give them a quick once-over with nail polish remover then wash with soap and water to get rid of any excess oils and start your mani off right!
Filing and Buffing
Once your hands are squeaky clean, it’s time to shape and even out your nails. Filing your nails correctly is key to preventing unnecessary peeling and breakage, and technique is everything.
Starting at the outer edge, gently pull the file toward the center of your nail. It’s critical to file in only one direction rather than simply saw back and forth, as this is what often causes the most damage to your tips.

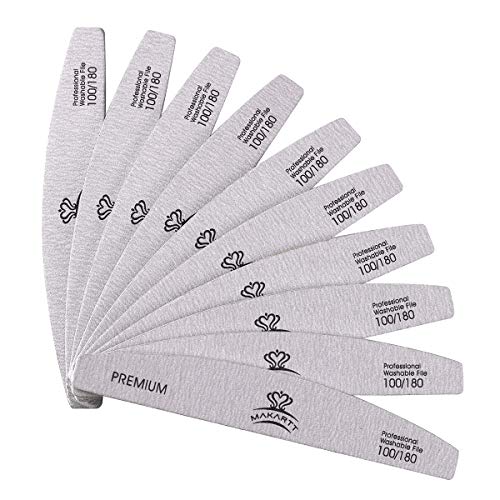
If your nails are already on the thinner side, try holding the file flush to your nail and file underneath to give you better visibility and prevent any over-filing. ClassyLady and Makartt offer some of the best filers on the market to make shaping your nails easier than ever.
Giving your nails a good buff is easily one of the most looked over and forgotten steps of the at-home manicure. Forgetting to buff can lead to the build-up of manicure-ruining natural oils on your nail, so getting rid of this residue is super important to maintaining a lasting mani.
Buffing also helps to keep your nails and fingers looking smooth and bright. Most standard nail buffers come with multiple sides that each serve a different purpose. Using the large grit side of your buffer, start by gently buffing your nails in an X-shape using uni-directional strokes.

To prevent over-buffing, do no more than six to eight strokes per nail. Repeat using the finer grit side of your buffer to polish your nails. Finish off by shining your nails using the smooth side of the buffer, lightly moving in tiny, circular motions until your nails are looking gorgeous glossy!
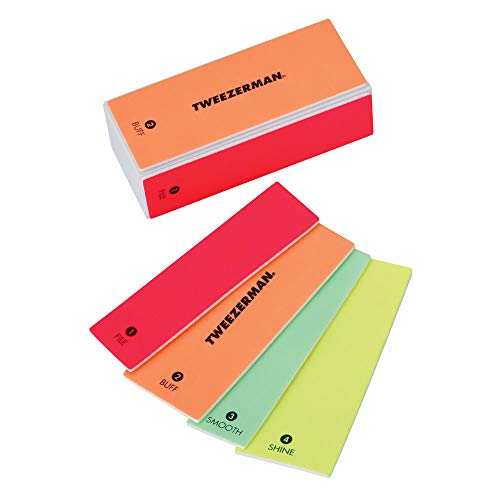
Some of our favorite multi-sided nail buffers include this buffer from Onsen as well as this 4-in-1 file from Tweezerman.
Never Skip The Base Coat

While this may seem obvious, forgetting to apply a base coat is one of the most common mistakes manicure pros see. A high quality, nourishing base coat is a key to keeping your nails happy and healthy, especially if you’re trying to grow them long and strong.

In addition to strengthening your nails and helping polish go on smoother, base coats also prevent your polish from chipping and keep your manicure fresh for longer. OPI and Sally Hansen are two of the most popular base coats, and UNT makes an amazing peel-off base coat that makes removing tougher, more textured polishes (like glitter) a breeze.
Applying Your Polish
Now that you’ve properly prepped your nails using all the incredible tips mentioned above, it’s time to paint up! This is often where DIY manicures tend to take a turn for the worst, but luckily, we have got you covered.
One of the most well-kept secrets of salon-style manicures is using acetone or nail polish remover to prevent any messy lines from runaway polish. Simply dip a brush in acetone or remover and follow the outline of your cuticle. This will make removing any excess polish quick and effortless.
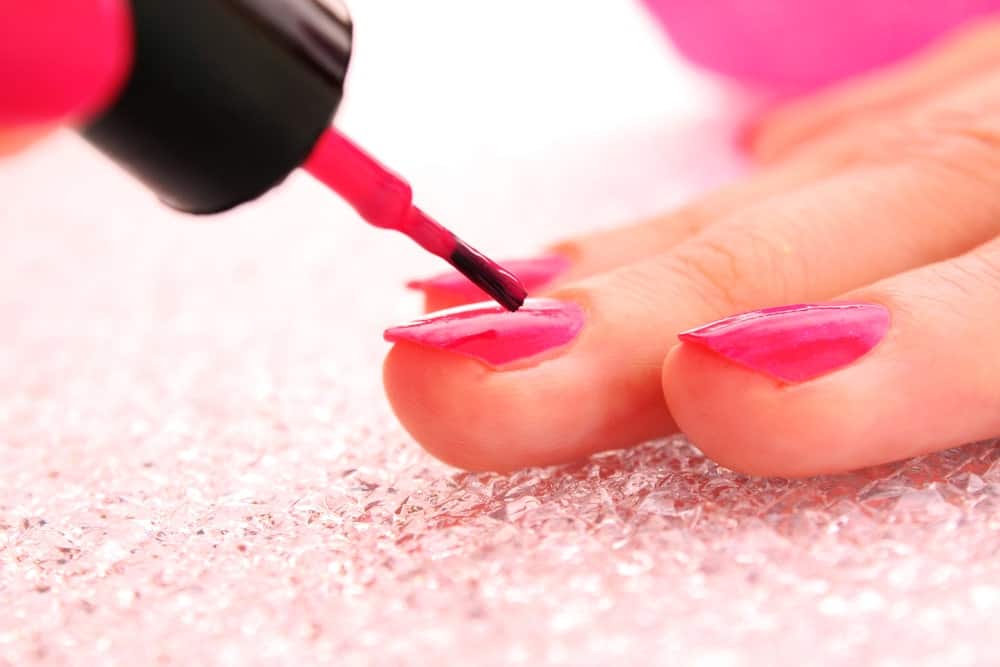
The trick to applying nail polish properly is to remember that less is more. Many wannabe manicurists make the mistake of globbing on way too much too quickly, leading to a messy, bumpy finish.
The key is to apply just enough to cover your nail in one coat using no more than three strokes – one down the middle and once down each side. Wait to apply the next coat until the previous coat is completely dry, as this allows your color to fully lock-in and stay put for longer.
Most important, remember that three thin coats are all you need! Apply any more, and you’ll be waiting forever for your nails to dry, only to have them looking thick and gloopy in the end.
Applying polish with your non-dominant hand is by far the most difficult part of doing an at-home manicure. Fortunately, you don’t have to! Instead of struggling to harness your inner ambidexterity, simply lay your dominant hand flat and rotate as you move along your nails.
Top Off With A Top Coat
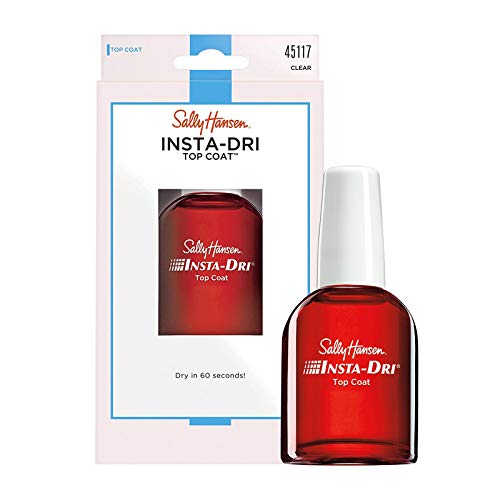
Just like with a base coat, skipping the topcoat can lead to disastrous results. Topcoats help protect and strengthen your nails as well as keep your polish from chipping far too soon. Sally Hansen and Seche Vite both offer quick-dry formulas that work great without costing a fortune.
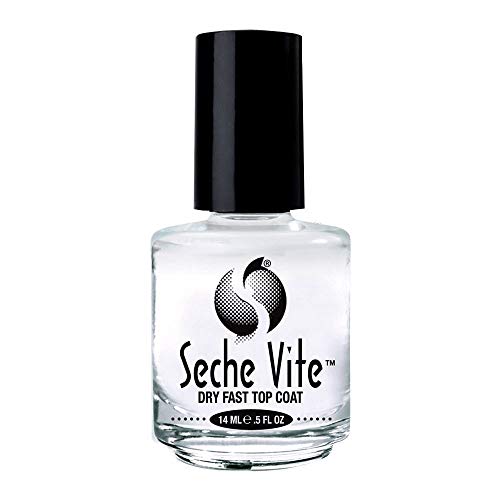
It’s also critical to remember that just because you applied your polish with the utmost care and precision, that doesn’t mean you’re allowed to be sloppy with your topcoat application.
Topcoat formula shrinks as it dries, and a messy application can lead to a bumpy finish that can potentially ruin all of your hard work. Even worse, improper topcoat application can actually lead to faster chipping.
Dry The Right Way

Drying your nails properly is arguably the most important step to ensuring a manicure that’s as good-looking as it is long-lasting. No one likes waiting for dry nails, and there are a ton of tricks out there that actually end up doing more harm than good.
First and foremost, do not blow on your nails! While this may seem like you’re speeding up the process, you’re actually not doing anything.
Nail polish cures instead of dries, so blowing on your nails runs the risk of creating bubbles or getting saliva all over your fresh mani (yuck!!!). There are also people who swear by drying nails with cold water, but trust us when we say that also doesn’t work.
If you’re in a rush or simply feeling impatient, you can use a quick-dry spray like this one from DeMert. These types of sprays actually oxidize the polish from the inside out, which helps speed up the curing process (just remember not to overdo it!).
Congratulations! You’re officially on your way to becoming a master of the at-home manicure with the help of these super easy tips and tricks. As long as you follow these steps, we guarantee your nails will stay looking fresh, fun, and fantastic!

