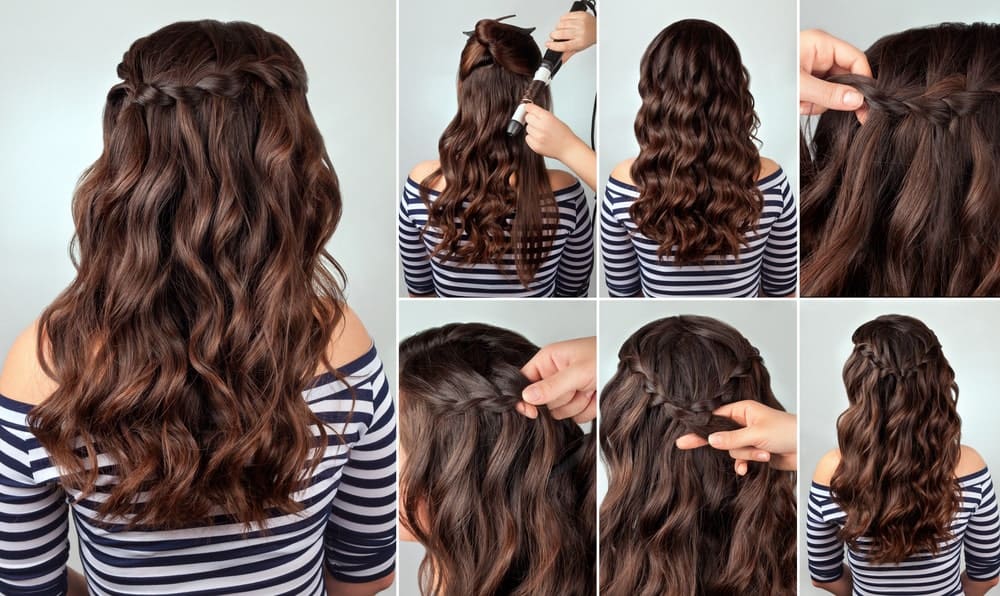
For those lovely long wavy hair ladies out there like myself, a new hairstyle to transform my look is always something I am willing to try. Whether you are going out for brunch with the girls, or a fancy date night, this boho braid will always impress and elevate your look.
This tutorial will give you step by step instructions for gorgeous wavy hair that looks like you just got back from the beach while still having a bit of class. Although this hairstyle looks as though you went to a salon to have your hair professionally done, thankfully you don’t, and you don’t even have to leave your home or spend a dime. I admit, anytime time I can save myself some hassle of running to a salon to get a new look and save some money, I surely will.
Another great thing about this look is that it gets the hair out of your face if you are on the go, but it is so much more than a simple ponytail. This is perfect for when you have a little bit of time and are on the move but still want to turn some heads. And since this look will hold all day there is no need to update your hairstyle before an evening event or keep having to check your hair in the mirror and provide on the run fixes.
Although I must admit, at first it can be a bit tricky to get the braid down, after giving it a go you will soon become a master and will be able to create this look quickly. Make sure to follow the step by step instructions and use the photos as your guide, and if you get lost don’t worry, just give it another go. If you are anything like me, this will easily become a go-to look.
Once you get the technique down you can always use it to create your own look and twist on the style. Since you can always add flowers, a fancy hair clip, even a cute headband, you can create this hairstyle over and over again and keep it looking new and fresh. Let’s get started creating your boho braid so you can get out there and impress.
Thankfully not many tools are needed for this look and you most likely already have them around your home. Grab your curling iron, some hair clips, a hair tie, and some holding products and you are ready to get started. For an impressive boho braid tutorial just follow the below six easy steps.
Step 1
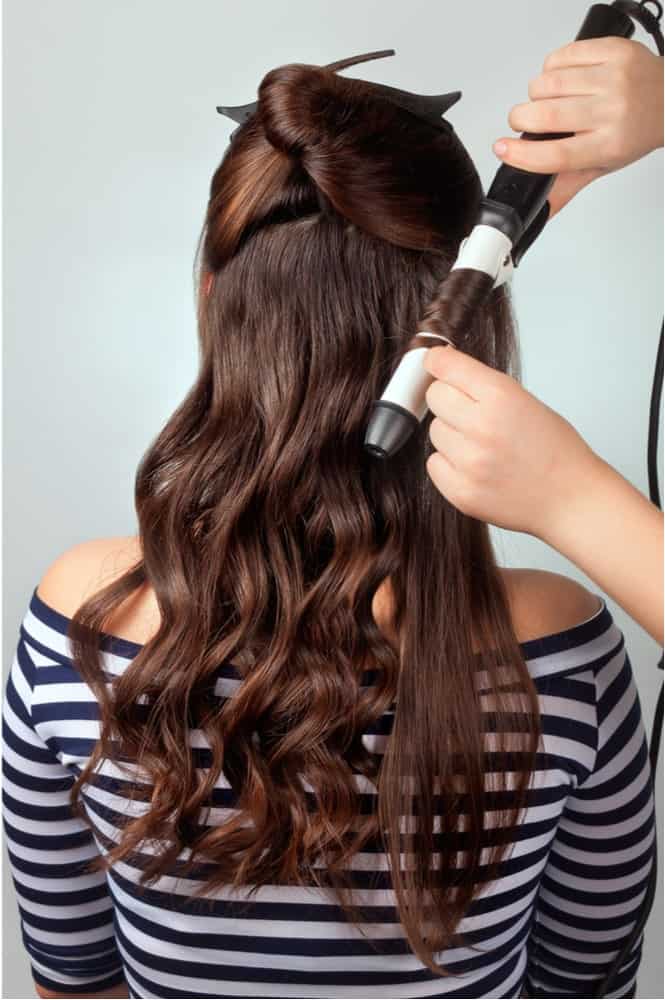
Start off with dried hair, whether air dried or dried with a curling iron it does not matter. This look will work both on freshly washed hair as well as hair that might be a little greasy. If your hair is a little greasy some dry shampoo will help hold the braids in place a bit more. Section off your hair into two sections.
The top section you can secure with a hair tie or clip to keep it out of your way while you work on the bottom section of your hair. Curl the bottom section of your hair with a larger barreled curling iron so that it creates a loose curl or wave. Since you want more of a wave than a curl, you can always use a lower heat setting. Once the bottom is complete, remove the clip from the top section and complete curling the remainder of your hair.
Step 2
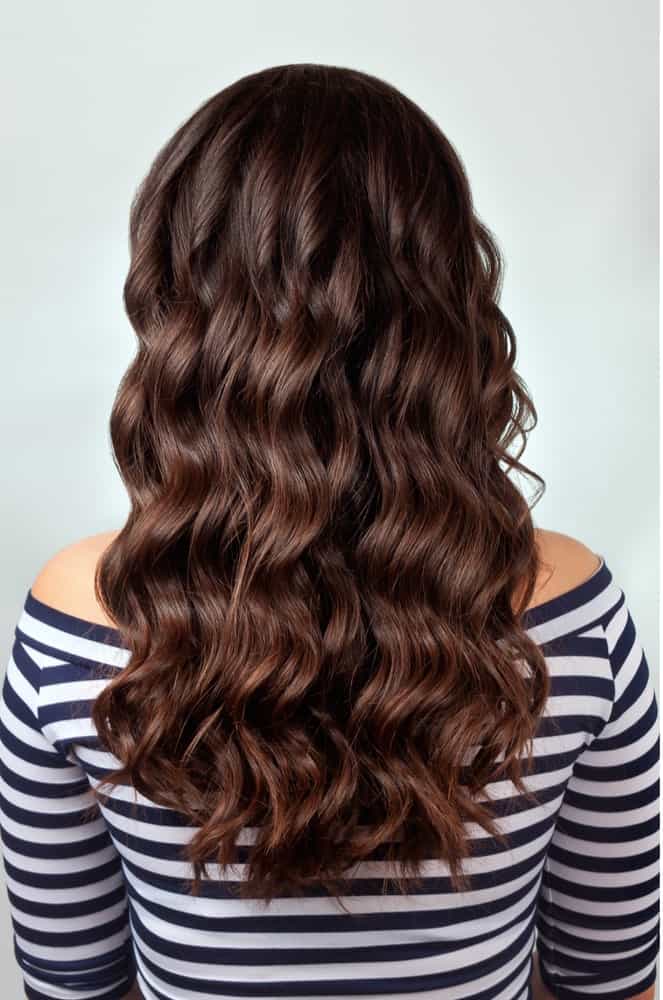
Double check your hair to make sure you have every section curled. It is okay to go back through and curl sections that may have lost a little bit of their curl. Now that all of your hair is curled gently run your fingers through your hair to break up any large sections of curls to get a gentle wave. Next apply your go to product to keep the waves in your hair all day.
Step 3
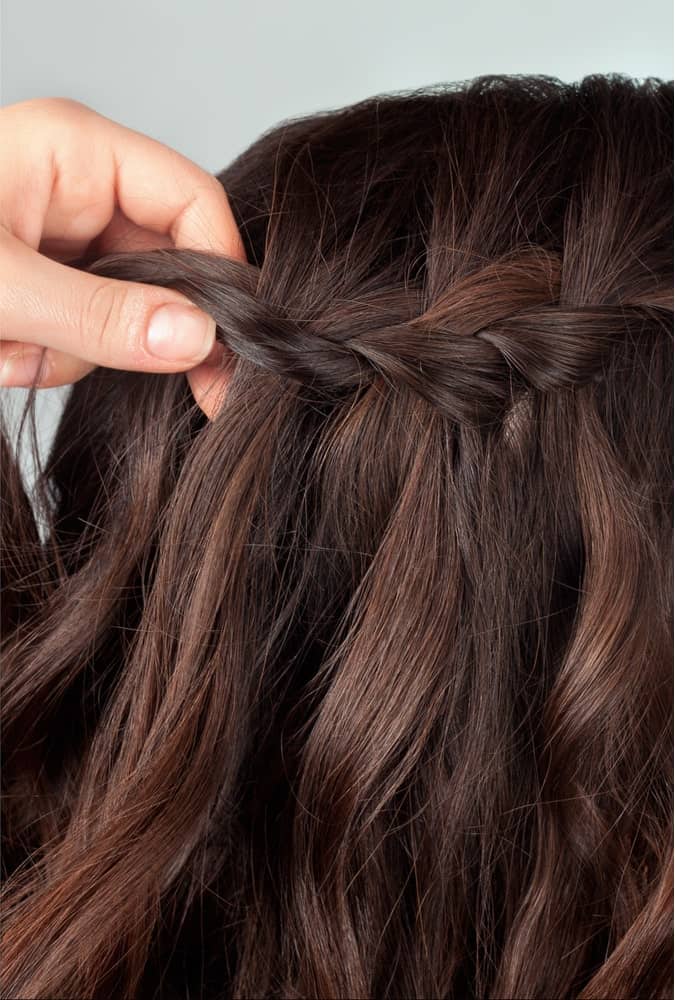
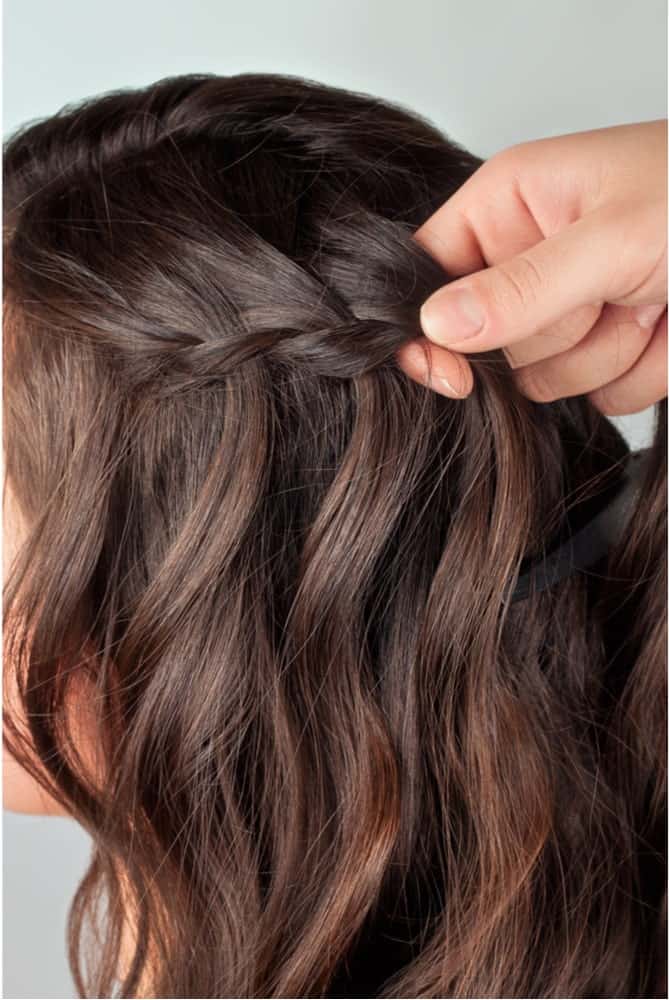
Start to create your boho braid. When creating this braid keep in mind you want it to be a little loose so do not pull tonight. You will start this braid at your temple on the right side of your head. Take a big section of your hair and create three sections. Adding a bit of production to the section can help keep them defined and may make the braid easier to manage.
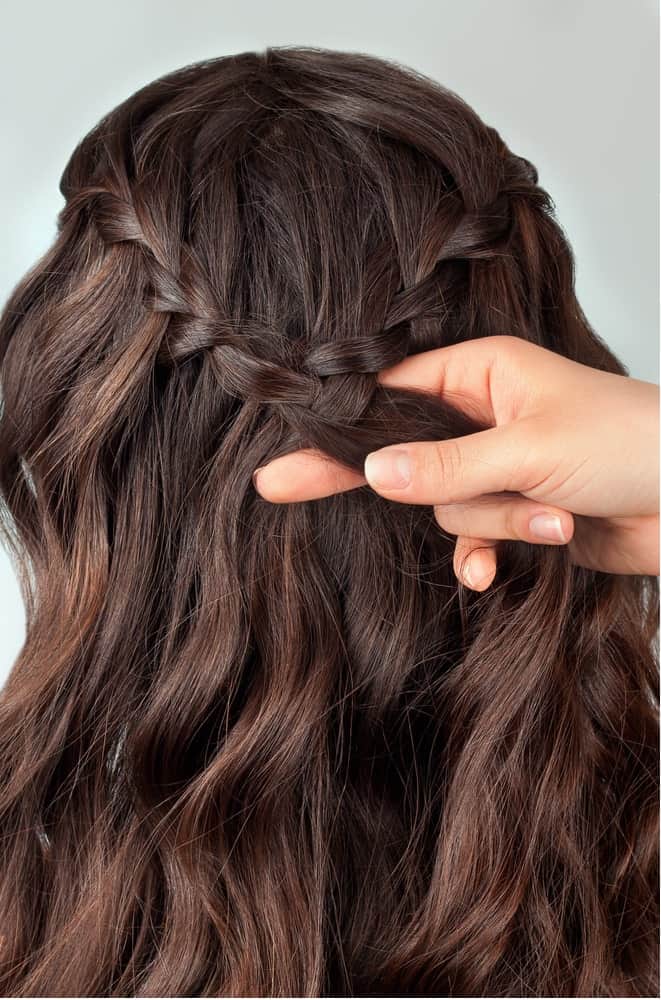
Pull the back section and cross it over the middle section. Then take the front section and cross it over top the middle section. Next, add a little section of hair from the top of your head to the back section and cross this back section over the middle section. Now in order to create the “dropped” look of the braid you will leave the front strand alone and pull a new section of hair from behind the front strand.
You now will cross this new section of hair that you pulled from behind the front section over the middle section. At this point you will now repeat until your braid reaches the middle of the back of your head. Since you will be creating this same braid on the left side of your head and joining the two, you can clip this hair in place for now.
Step 4
Time to create another boho braid on the left side. Follow the same routine as in Step 3, but when you come to the back of your head where you will meet the other braid you don’t have to clip it in place.
Step 5
Now that you two boho braids completed both should end at the back of your head. It is now time to combine the two braids. To combine them, take the sections of hair from the left and add it to the section of hair from the right in order to get a combined look.
Secure the two braids together with a small elastic. I like to use a clear small elastic or one that matches my hair color in order to give it a more natural look. You can also add in a touch of flair here depending on the occasion. Some flowers or a flashy hair clip can personalize this look.
Step 6
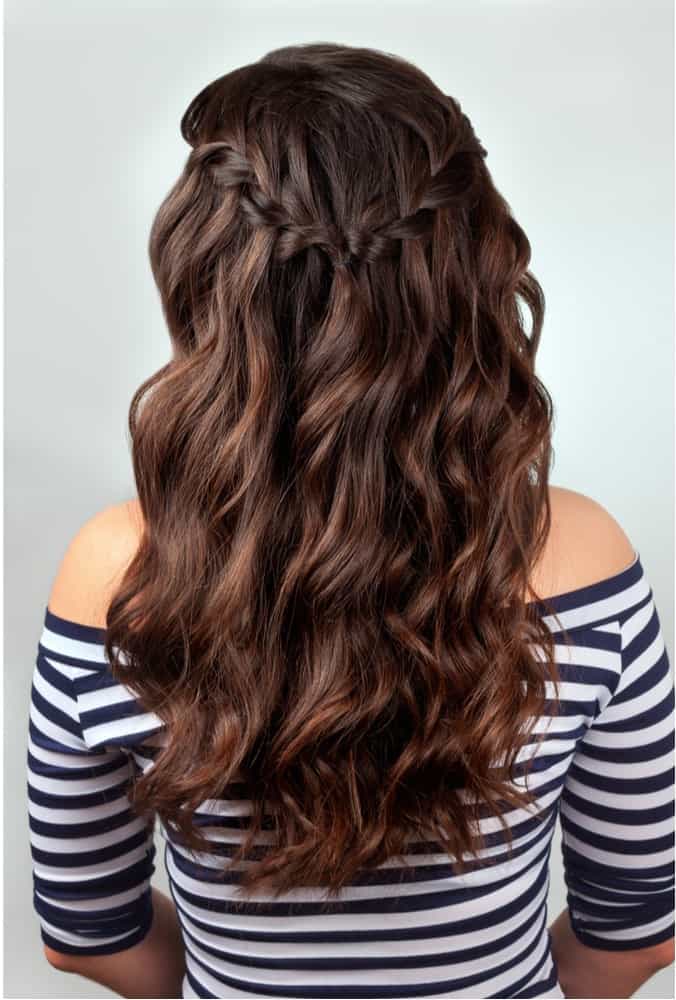
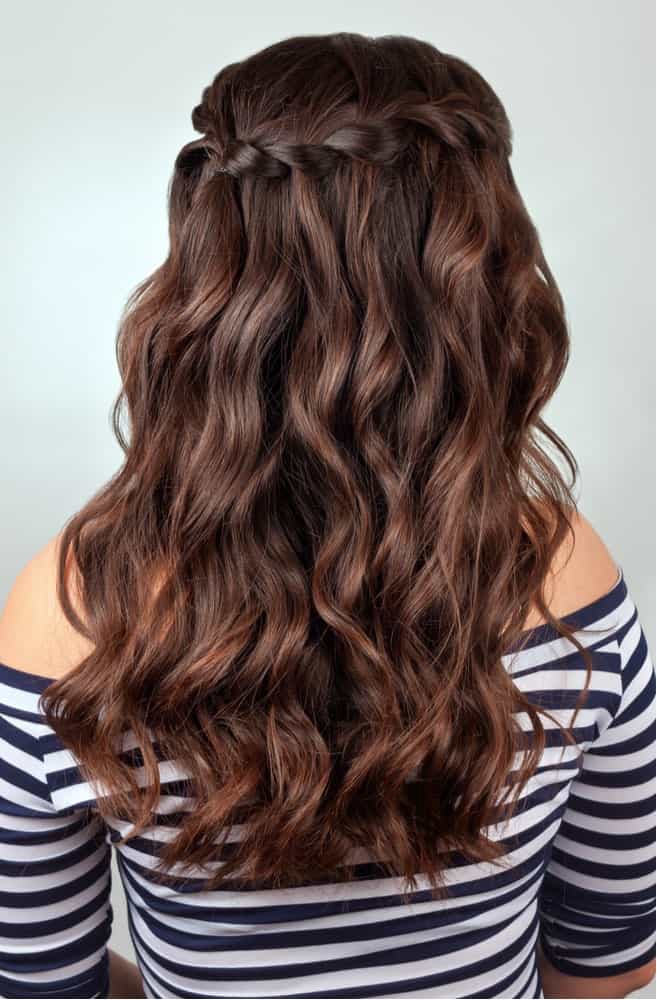
Done! You have just created a cute look you can wear all day and into the evening. Double check your waves are still looking on point as some of them could have gotten knocked out by the braiding process. If they did lose a bit of wave just take your curling iron to those sections to refresh the curl. If you hair tends need more hold, apply some hairspray to set the look as well as keep fly-aways down.
Try to use a product that does not create a “stiff” finish as this look is meant to look natural and have some movement to it. I find that a moose will have a better finished look than a hairspray. Now that you have this cute new look down you will be able to create this look next time in a flash. Now get out there and show off your new boho braid.

