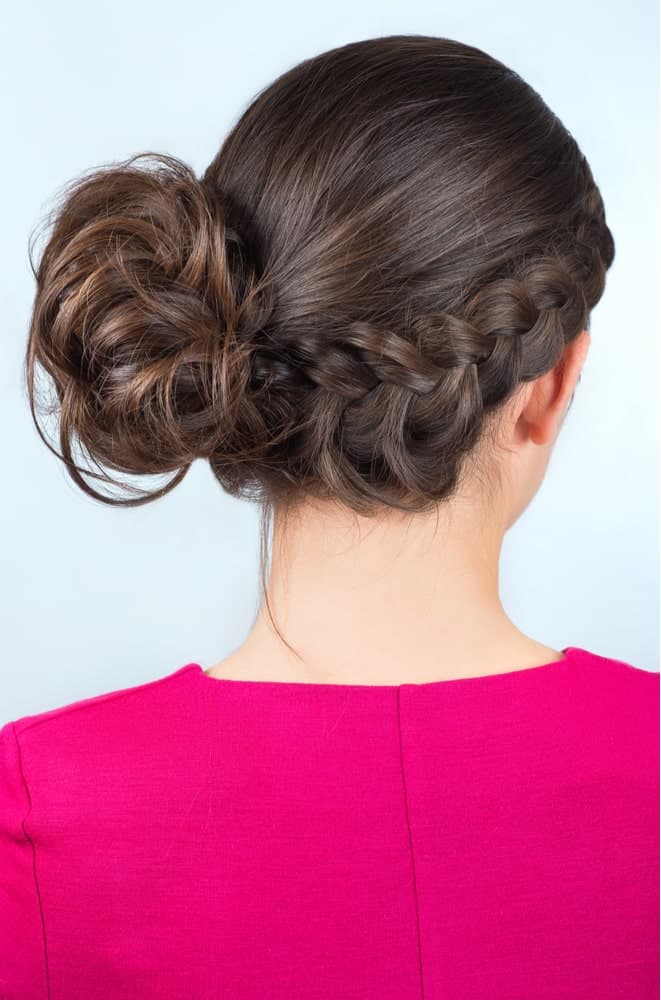
This side, low-style braided bun is a great look for sporty or active women who want to keep their hair up and keep cool and dry while also looking hot and feminine. Let’s get started!
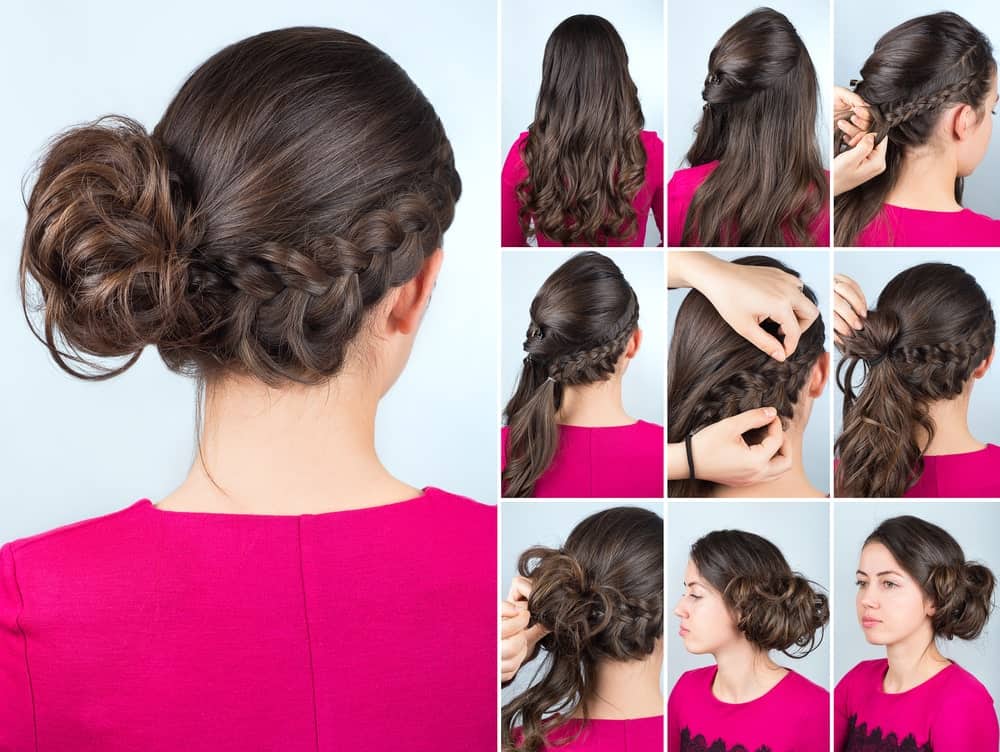
Step 1: Brush Hair
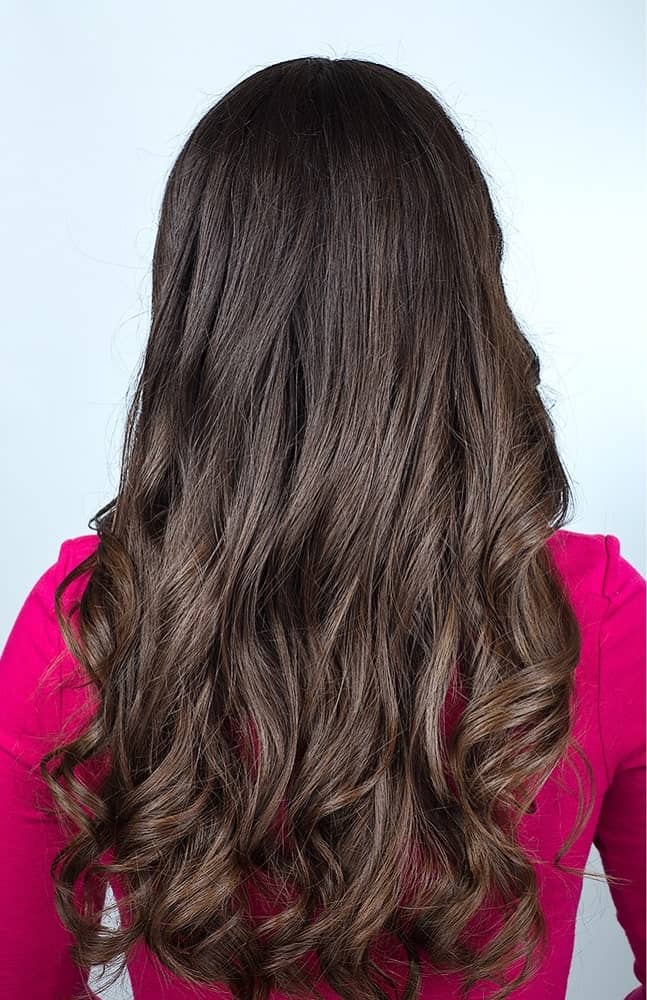
Use a wide-bristle brush to simply detangle your hair. If you have curly hair, just use a pick or a detangling comb. This makes the individual strands of hair easy to work with. If you have straight hair, use a wide-bristle brush that will keep your hair in individual locks while it detangles it. You’re good to go now.
Step 2: Gather the crown of your hair and pin it off to the side

Start near the middle of your forehead and part your hair around the crown of your head. Leave some hair on the sides of your head. This will be where the french braid will go. Gather a full, oval-shaped segment of hair from the very top of your head and pin it off to one side. Make sure the pin or click is very secure because you don’t want this accidentally blending with your other hair just yet.
Step 3: French braid the side of your hair from the front to the other side
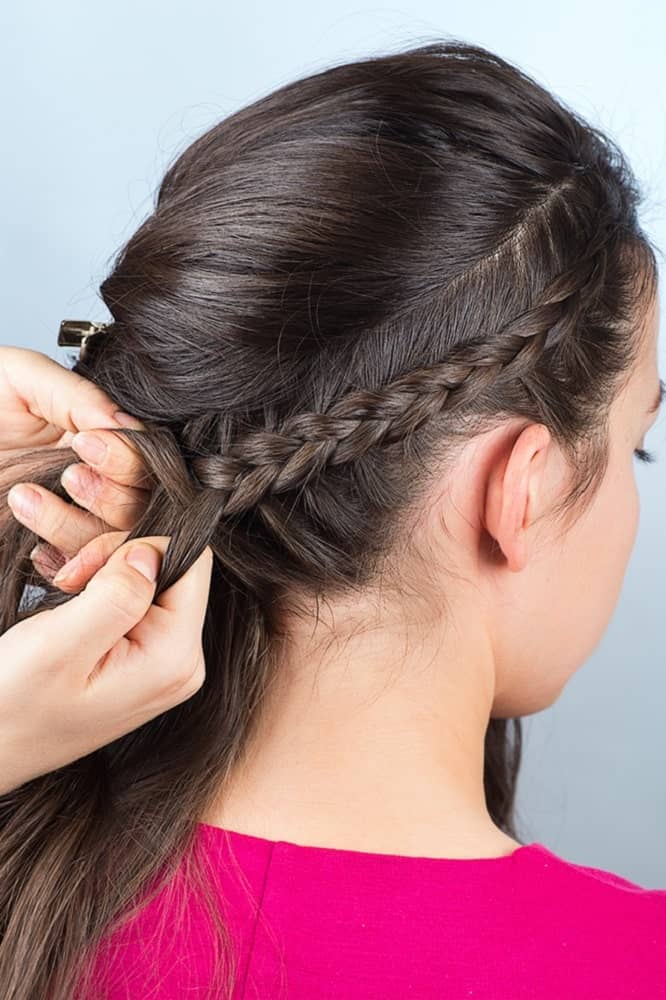
Start with the wispy hairs on the side of your head. Begin french braiding them. Move your french braid down and around the base of your head. It should be wide enough to be highly visible. The pinned hair off to the side should be pinned tight enough that it doesn’t cover up the french braid at all. You want your french braid to be nice and visible all the way around.
Step 4: Secure the french braid when you have reached the other side of your head
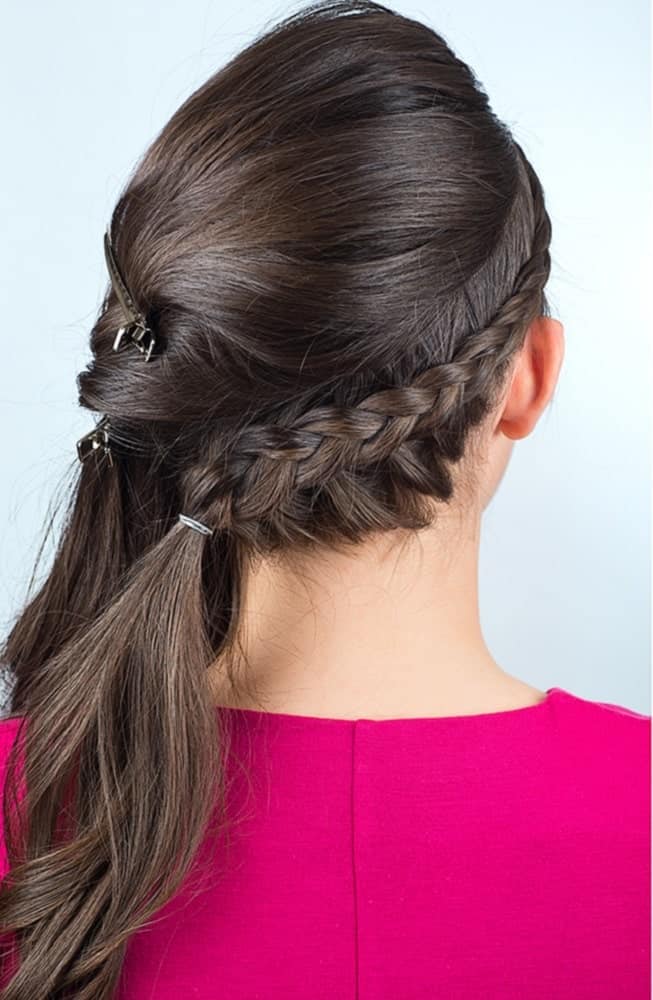
Using a small elastic, tie off your french braid against the base of your head now. It should be curving from the front side of your head all the way around the base of your head and over to the other side. Do not stop the french braid in the middle of your head. You want it to travel all the way over to the other side. Don’t worry about pinning up the tail of this french braid. It will be pinned up later with the rest of your hair.
Step 5: Starting at the bottom, pull on both side of the french braid to loosen it and make it fuller
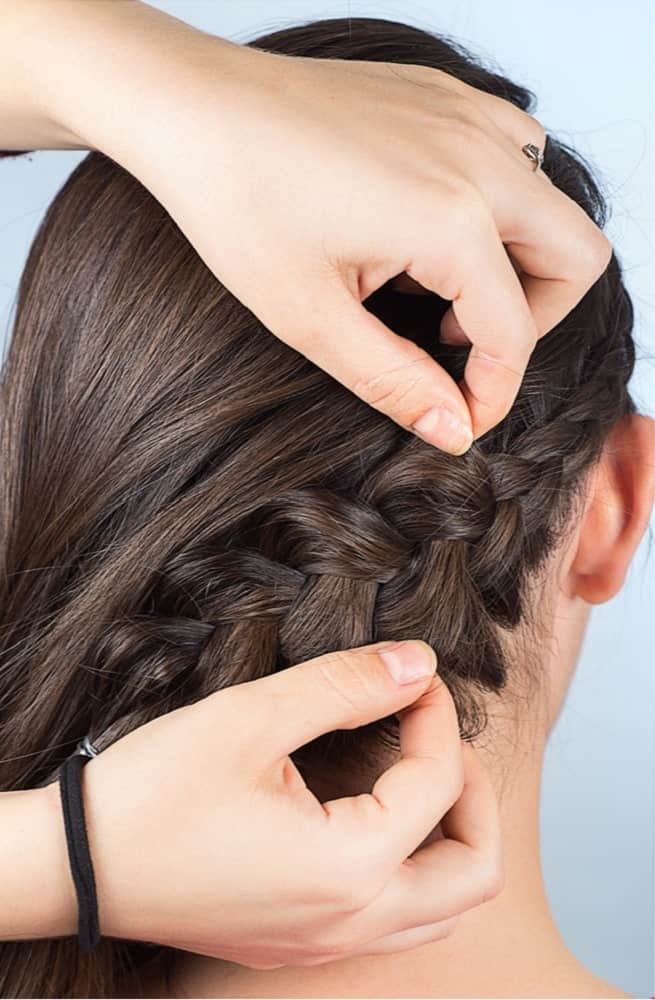
This is where we make your french braid look really nice and full and plump. Begin with the hair tie at the bottom of your braid. There is where your hair is the loosest and can be pulled out the most. Gently pull on both sides of your french braid until you’re not able to pull any further. Slowly work your way all the way along your french braid until you reach the beginning of it near the front of your head, off to the side. Now that your braid is nice and full, we can move on to the next step.
Step 6: Make a looped ponytail with the crown of your hair

Get a brand-new scrunchie that is the same color as your hair. On the bun side of your head, pull the hair from your crown all the way through it, pulling it tightly. Remember, we don’t want the ponytail part of this to be loose at all. It will start to sag after a while, and it might be loose enough to cover the french braid.
Pull your hair through the ponytail until the last pull-through. On the last pull-through, only pull your hair halfway through the scrunchie. This will make a nice big looped bun for the side of your head.
Step 7: Tuck and pin the ends of your side ponytail back into the loop
Take the end of both your looped ponytail and the braid and tuck them into the looped bun. Don’t worry if the loop sticks out more. We will pin it and make it full and fluffy in the next step. Right now, just tuck the end of both strands of hair into the center of your looped bun. This will give it some interest and extra loops to pull loose when you’re ready to fill it out more.
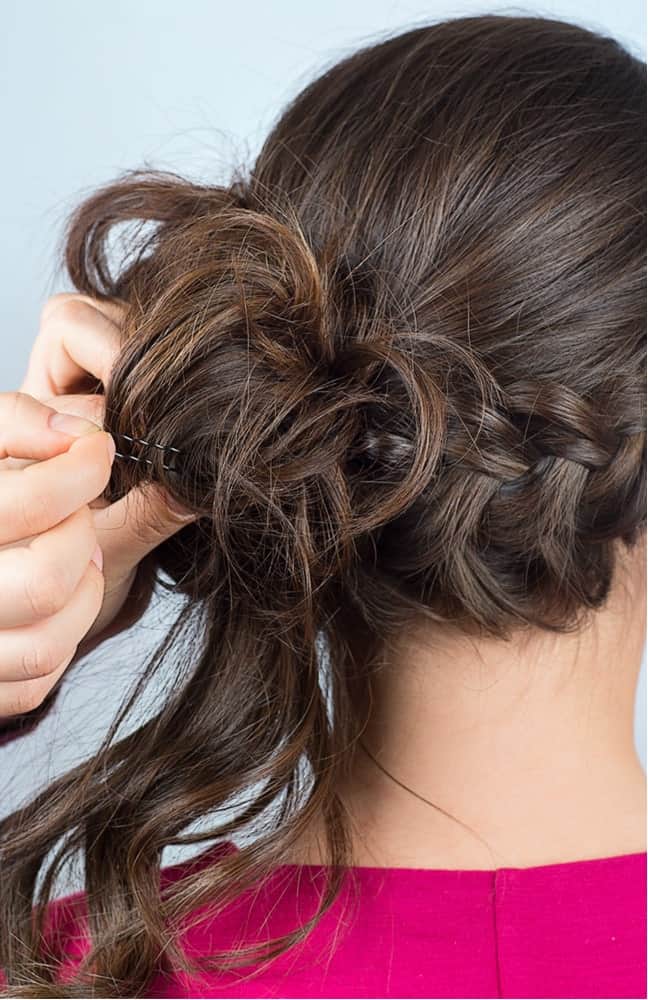
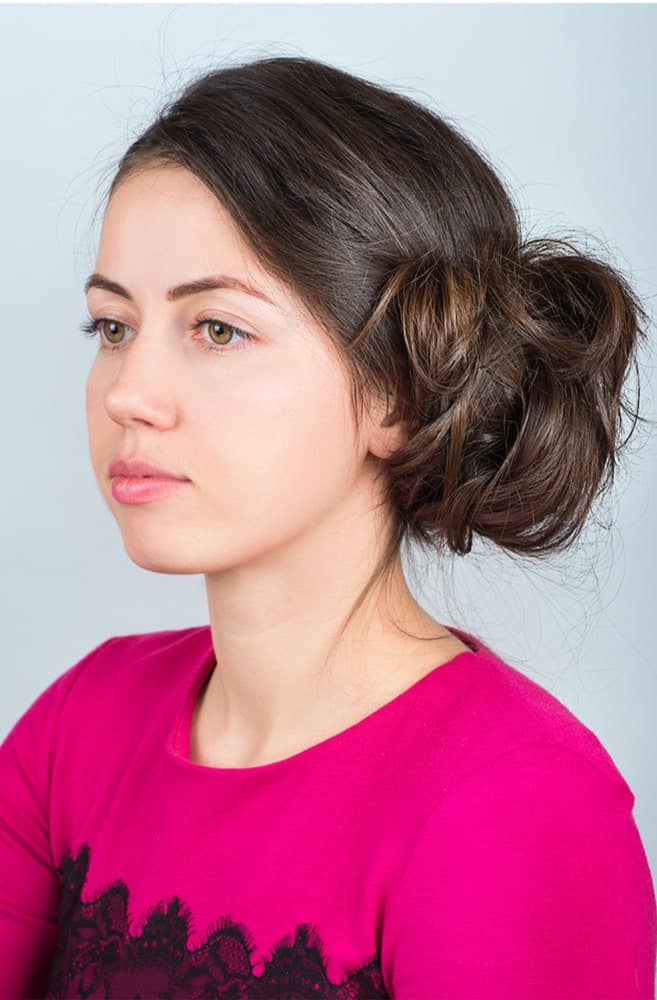
Step 8: Loosen loop and pin braid underneath it
Pin the top of your loop (near the base of the scrunchie) to your head. This will hide the scrunchie and allow the bun to get and stay really full. Now, with your fingers, pull the strands of your looped bun away from each other.
Make it nice and full to fill out the side of your head. If you like a messy look, just pull some strands a little further out than others. This will give it a nice looped effect for women who want looser or fuller hair. If you prefer it to be smooth and sophisticated, only pull on the loops in a nice, uniform way. Lightly comb down any stray hairs and spray with hairspray.
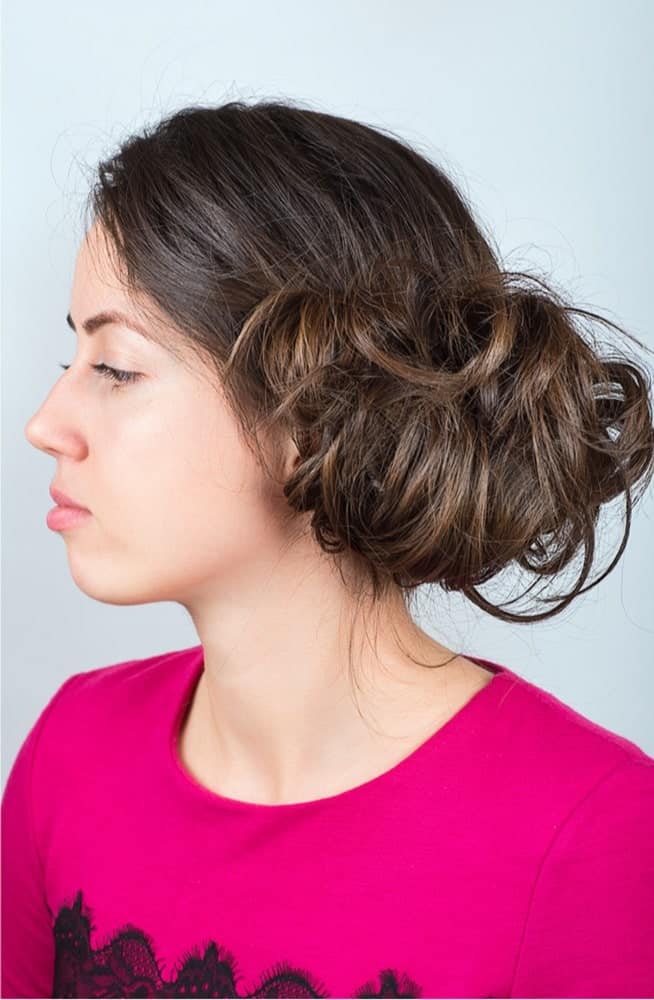
Step 9: Loosen or tighten the bun as much as you want and make sure all angles of the braid can be seen
Finally, get a hand mirror and look in a large mirror from every angle. Make sure that your beautiful french braid can be seen from every side. Make sure that the french braid hair tie is pinned underneath the looped bun. If you feel that your hairstyle is too flyaway, you can add extra pins, as needed.
They fit nicely and securely behind your scrunchie. This is a step shown in our boho braid tutorial. If you would like to pin a large barrette on your bun, be sure to next it securely between the top of your bun and your head. That will make it look like the barrette is holding up everything. You’re ready to go now!