For a unique and classy look, follow this tutorial to master the boho braid.
This bohemian braid is easier than it looks but is sure to turn a few heads.
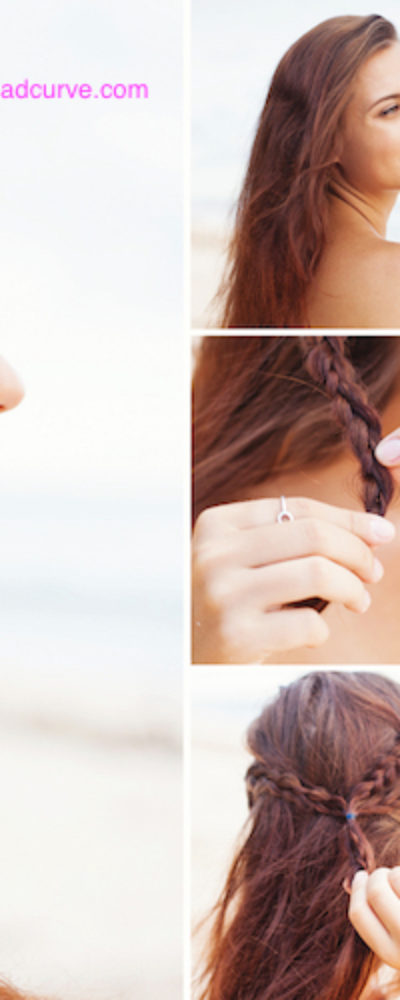
Follow along below for a detailed, step-by-step tutorial of this gorgeous boho braid.
Step 1: Brush hair
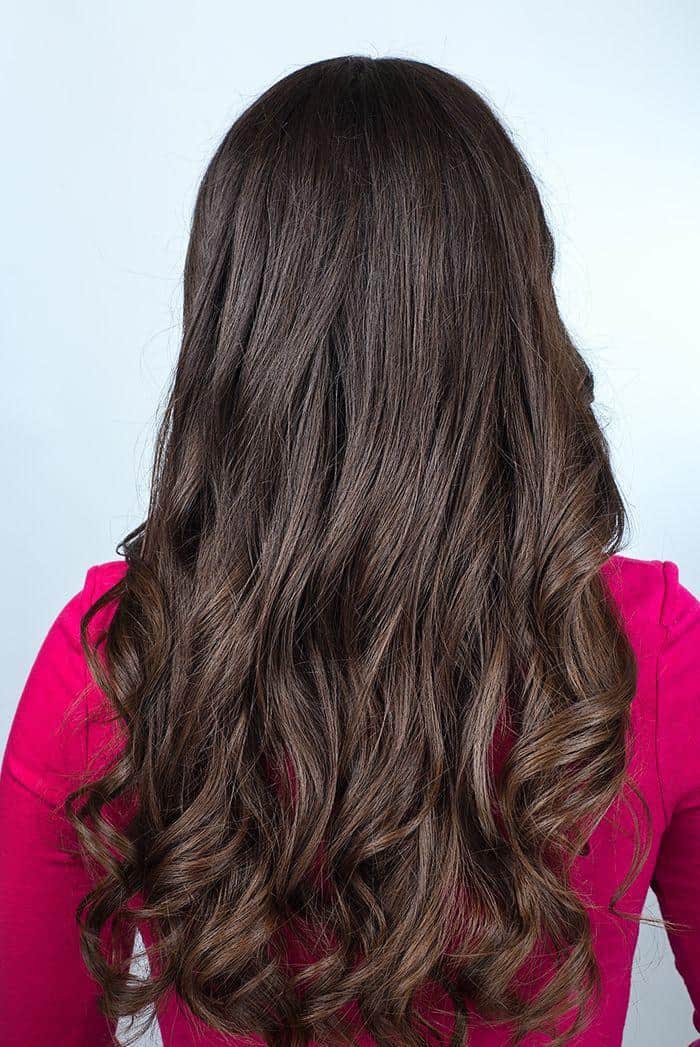
Begin by brushing through your hair, making sure it’s smooth and tangle free. For an added touch, curl the ends of your hair to create a subtle wave which will emphasize the unique look of this braid.
Step 2: Create a Dutch Braid
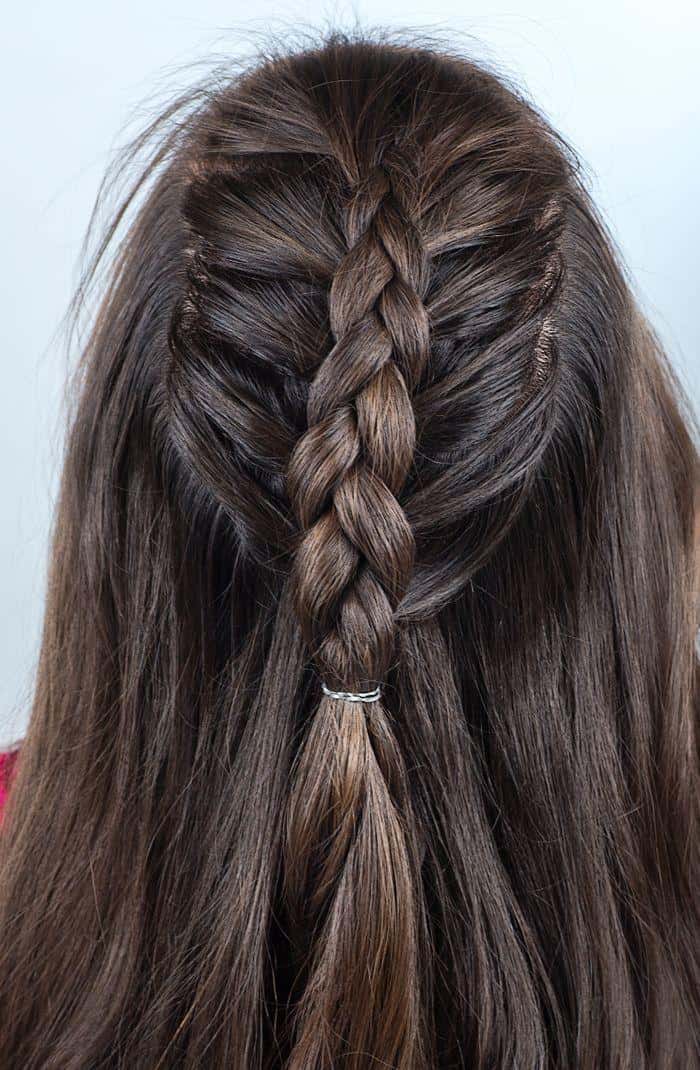
Create a dutch braid down the center of your hair. A dutch braid is an inverted version of the french braid. As you add strands of hair to the braid, pull the extra hair under the braid instead of over. This creates a braid that really pops out instead of blending in like the french braid. In this step, only draw hair from the middle section, and leave some hair loose on either side. Braid about half-way down and then secure with a hair tie.
Step 3: Pull on each strand of the braid
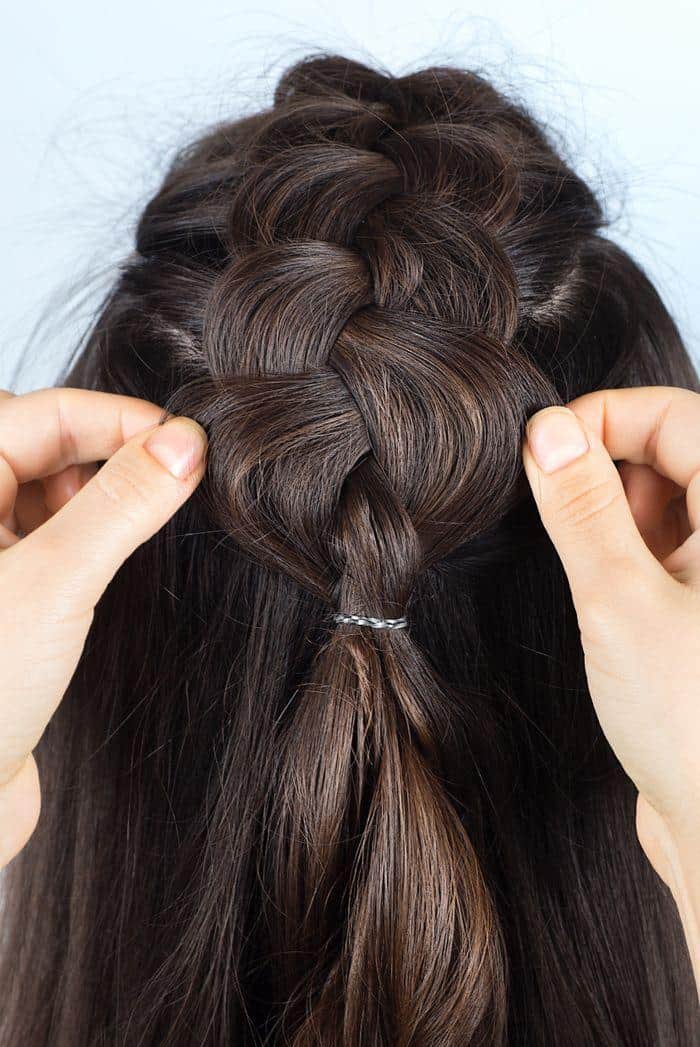
Pull on each strand of the braid to loosen the look and create more volume and texture in your dutch braid. Be sure to use gentle tugs, as too much pressure could remove a strand entirely from the braid instead of just creating this effortless look.
Step 4: Wrap the loose strand from the right side of the braid around the hair tie.
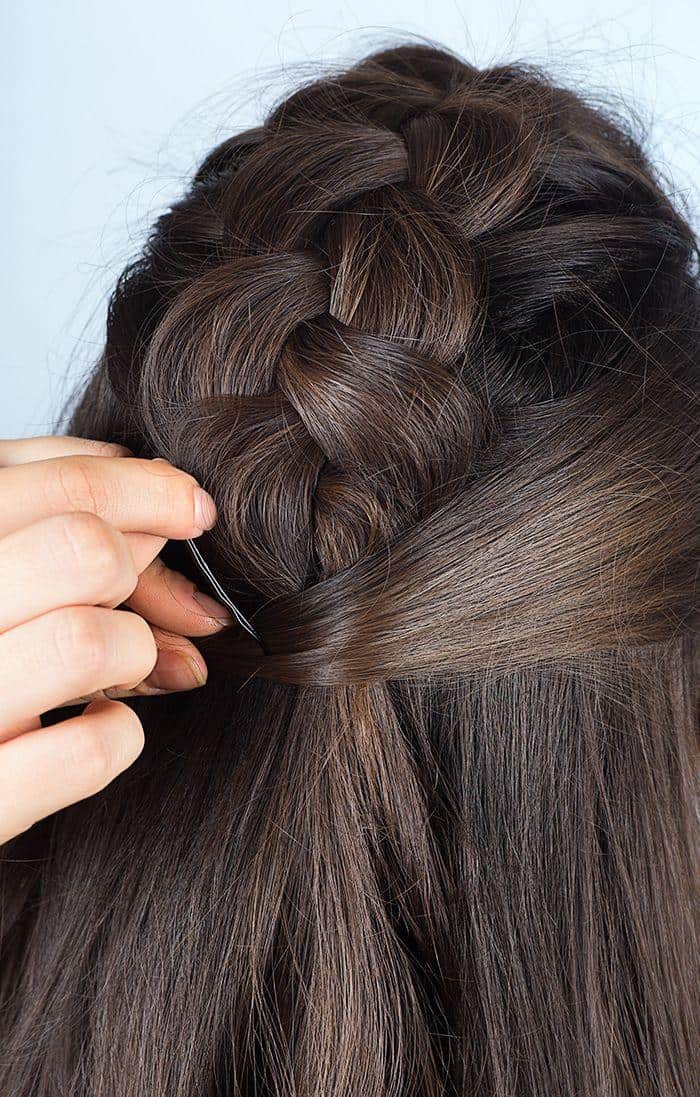
Now take the loose hair from the right side of your braid and wrap it around the hair tie. Secure this strand with a bobby pin.
Step 5: Repeat Step 4 with the left strand of hair.
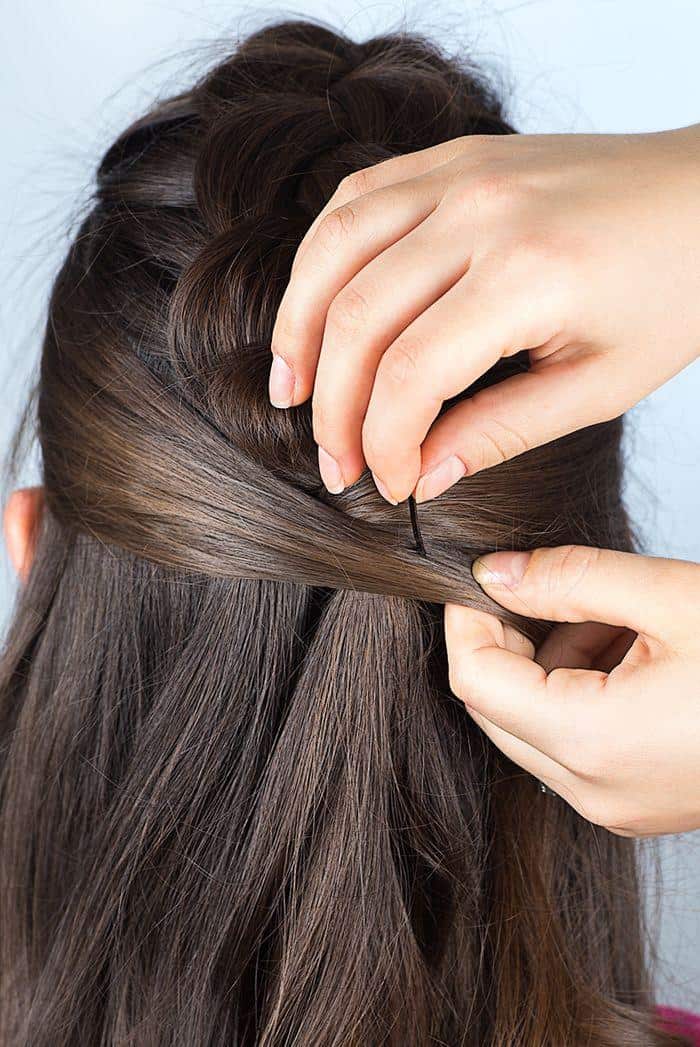 Step 6: Secure with a bobby pin
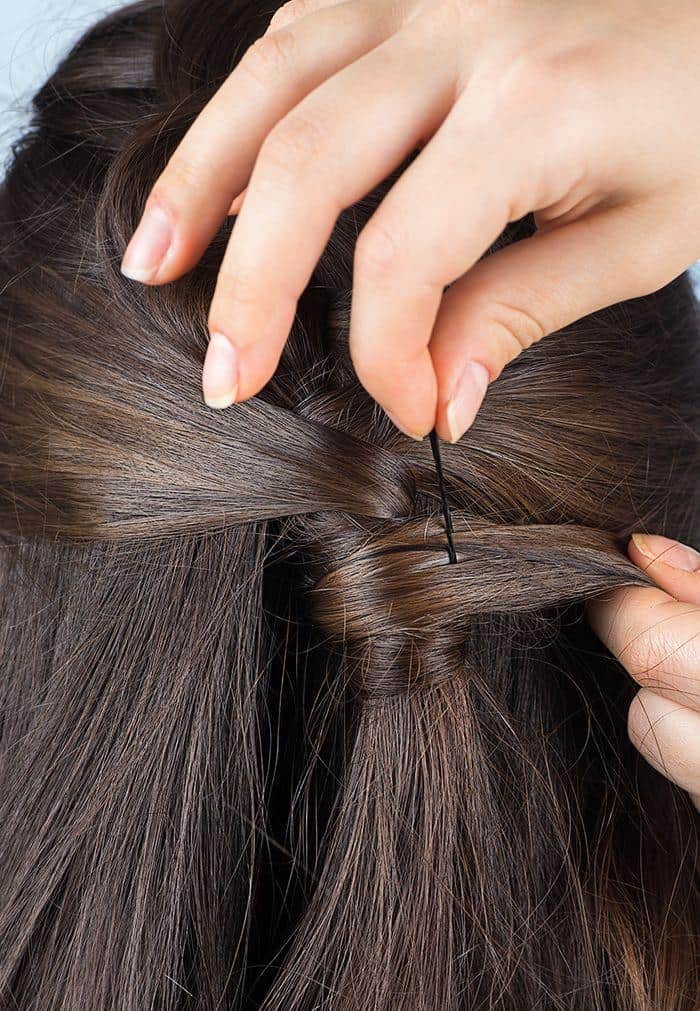
Wrap the loose hair from both sides around your initial braid once or twice more depending on the length of your hair, and secure with a bobby pin.
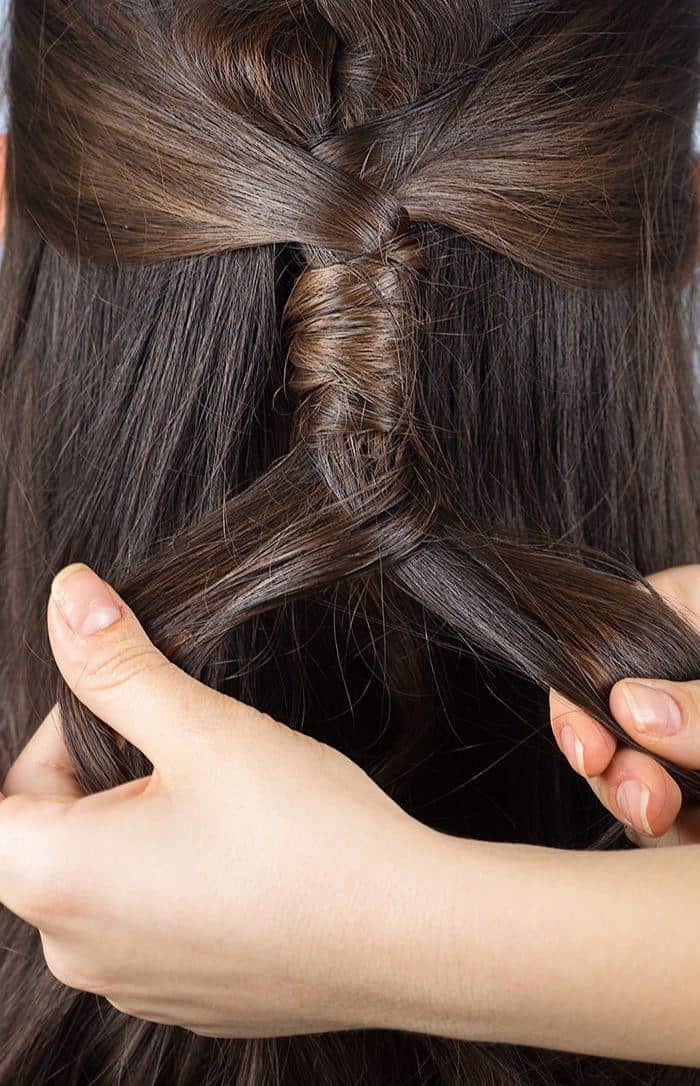
Step 7: Divide into two sections
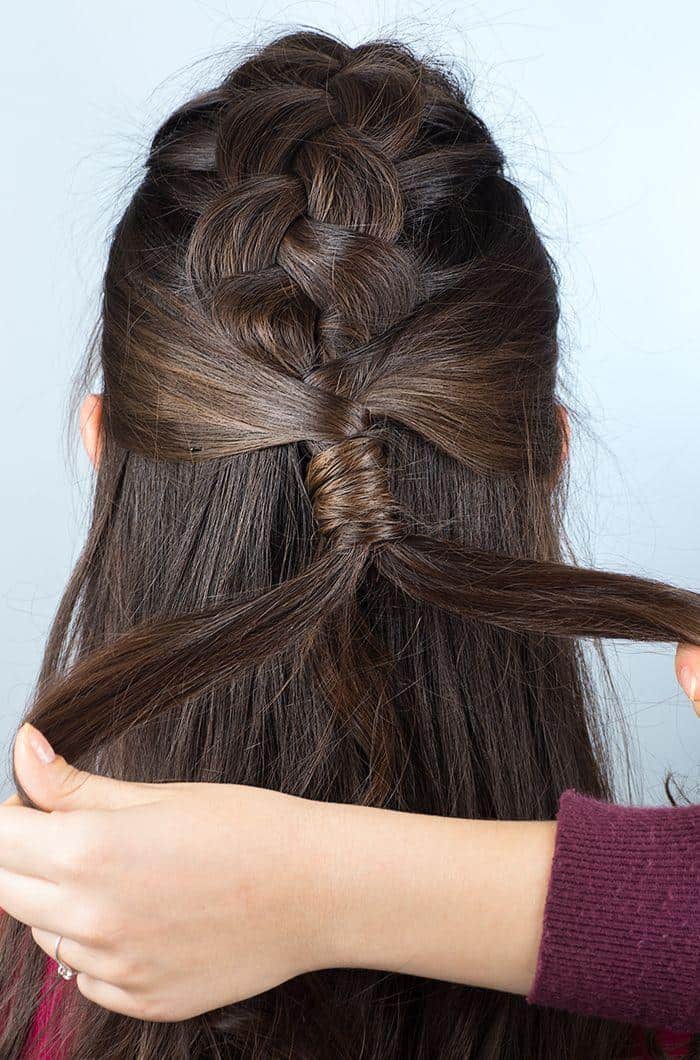
Take the leftover hair from where you tied off the dutch braid and divide into two sections. Be sure not to pull too hard as you don’t want to lessen the impact of the wrapped hair from Steps 4-6.
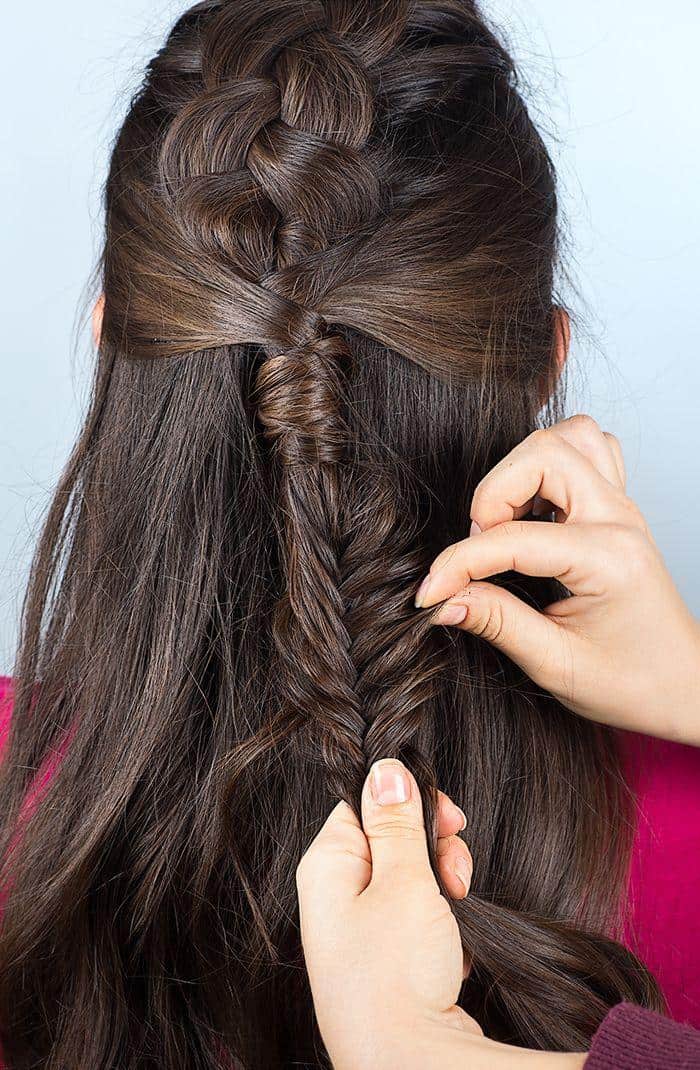
Step 8: Take a small strand of hair from the back end of one section and pass it over to the other section.
Then take a small piece of hair from that section and pass it to the other. Repeat this process in order to create a fishtail braid. The tip with fishtail braids is to pass over as small of sections as possible, in order to create the thin mermaid-like texture.
Step 9: Finish the fishtail braid and pull on each strand in order to loosen the braid and create a more relaxed look.
Again, make sure that you don’t pull too hard and remove a section of braid.
The Finished Look

The finished look is a three-part braid that looks much more complicated than it is. Look effortlessly styled with this boho braid tutorial you can master in no time.